Creating admin users & assigning permissions in OpenCart
- OpenCart Tutorials
- OpenCart Admin Help
- 4th January 2017
- Abigail
If you’re running an ecommerce store, it’s likely that you have multiple people working on your website. From internal staff to list products & check orders, to web developers & marketing teams, you’ll have lots of different people who require access to your store. Having separate admin user accounts for each person or team allows you to specify who has access to what area of the website.
How to create a new admin user login account for your OpenCart store
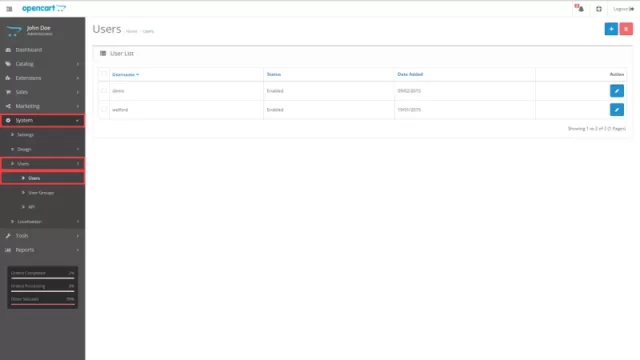
To create a new admin user account for your OpenCart store, you’ll first need to log into your store’s admin area and navigate to System > Users > Users. Here you’ll be able to see any existing users, including their username, whether they’re enabled or disabled and when that user was added. To add a new user, simply click the blue “Add New” button at the top right corner of the screen.
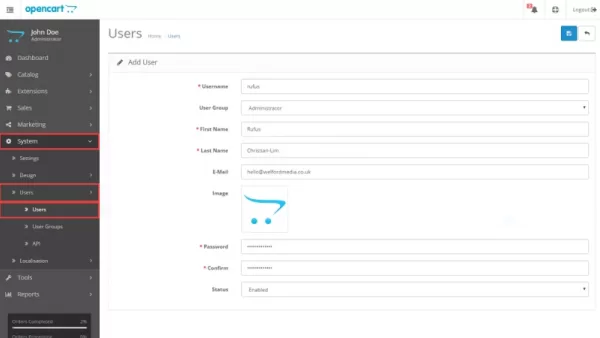
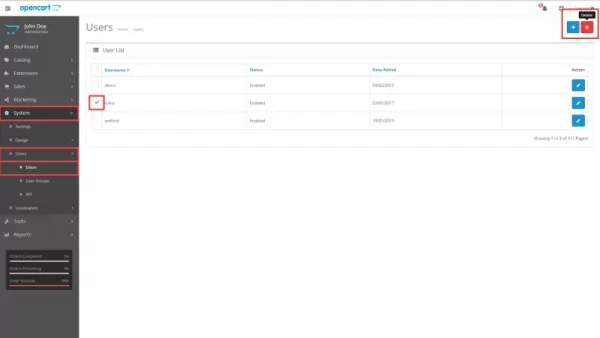
When adding a new user, you’ll be able to specify their username, user group, first name, last name, email, image, password and status. Once you’ve filled in the user details simply click the save button at the top right corner of the screen. To delete a user, tick the tick box next to their username in the user list and select the red delete button.
How to create user groups & assign permissions to admin user accounts
To assign specific permissions to an admin user, you’ll first need to create a new user group. To do this, go to System > Users > User Groups and click the “Add New” button. Here, you’ll be able to add the new user group name as well as choose the exact folders that users in that user group can access and/or modify. To delete a user group, select the tick box next to the user group you’d like to remove and click the delete button.
Please note that you won’t be able to delete a user group if it is currently assigned to a user.
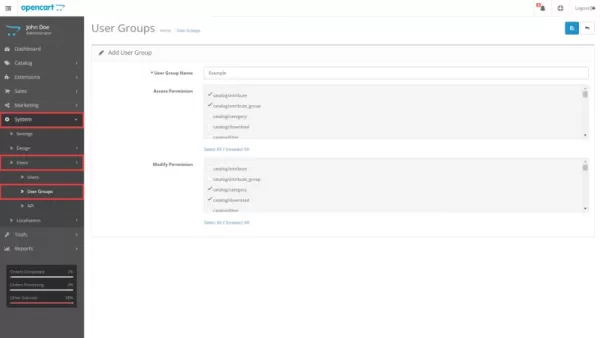
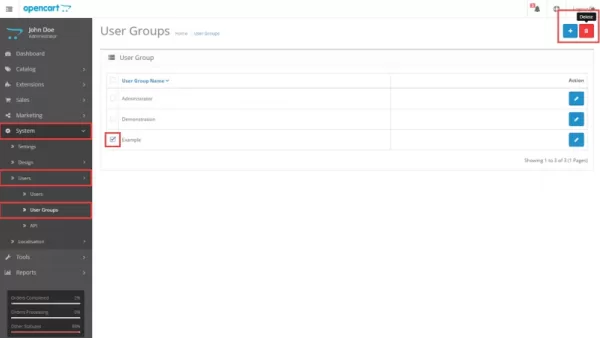
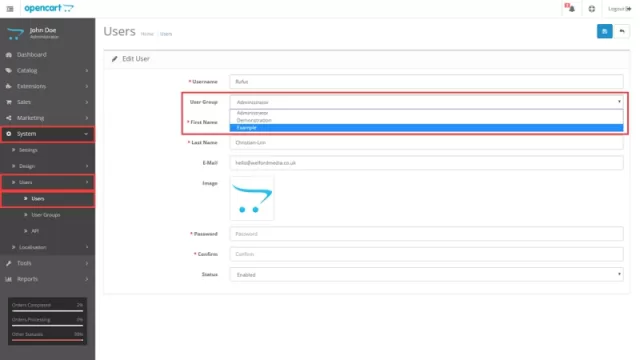
Once you have created your new user group, you’ll be able to assign it to users in the user settings. In System > Users > Users, edit the user that you want to assign to the new user group and change the “User Group” field to match the new user group you’ve created.
Congrats, you've now successfully set up new user permissions for new users!